| 
Building Guppy
(Part 3)
by Steven Lewis
Part
1 - Part 2 - Part
4
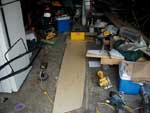
When we last left Guppy, we had glassed the joints in the bottom. Since then the sides were glassed, ripped apart and re-glassed. The reason for this is I had a bad mix... not enough hardener for the amount of resin. Got disgusted and didn't do anything for a month.
rescarfing
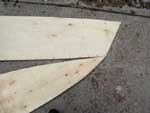
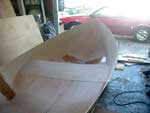
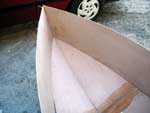
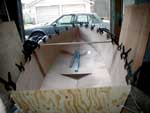
I redid the panels and then proceded to go 3D. Here is the bottom panel stitched
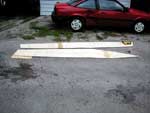
stitched
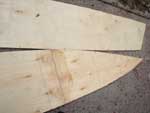
and here it is unfolded...3D.
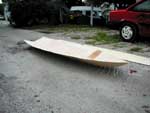
unfolded
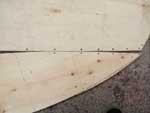
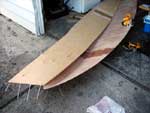
I folded the bottom back up and ran the edges of the bottom and sides together to mark the holes. This matches the stitch holes quite well when there are severe curves.
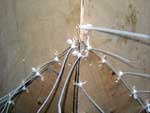
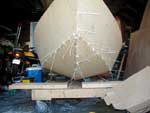
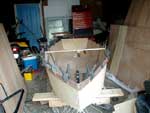
The next day I started stitching the sides on. I first stitched the bow together, then I laid the side panels on the opened bottom panel and started stitching from the front.
bow stitched
This is opposite from the way I stitched Fisher10 and goes quite a bit smoother. Lots of stitches to get a good tight joint between panels at the curvy parts. I worked my way back to the transom end and the measurements came out pretty darn close.
from the rear |
close enough |
bow view |
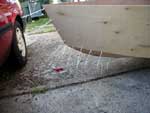
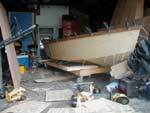
A few shots of the boat before the transom goes in. I broke out a piece of the bottom (The ply I am trying is kinda brittle... It is hardwood ply from Lowes, 5.2mm, 5 ply, $12.00/sheet, very very few and very small voids).
broken piece
|
hairy |
bow stitched |
bow shot
|
side shot
|
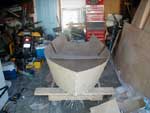
When I fillet I will fill the hole... No problema. Weeks go by while I work 2 jobs... no time or energy to play. Today I got motivated and did up the transom and stitched it in.
transom
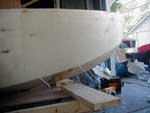
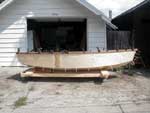
I also clamped a couple of mahogany strips to help shape the shear and do some eyeballing on the lines. I marked up a piece of luaun earmarked to be a sort of bulkhead at the max beam station. Just kinda laying out the locations and widths.
forefoot |
temp gunnel |
daylight at last |
It is looking like the boat will run 40 inches from center of vee bottom (inside) to top of cabin ceiling (also inside), with a hinged pop up center section to give more head room when not sailing. Bunk width is 27 in. along the longitudinal centerline of the cabin with 18 in of it folding forward to give a little more moving room. There will be enough room for a 1 or 2 burner camping stove and some stowage. The bunk is lower than most to give max headroom.
Stay tuned for the next installment
Steve |