|
|
I didn't get all that much done between Christmas and Easter, I'm afraid. |
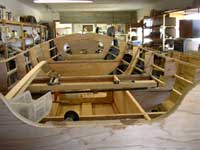 |
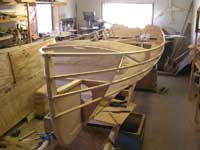
But I did get the stringers cut, sized, lined up and glued in place. |
 |
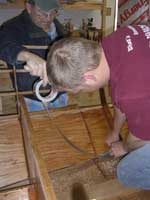
At each intersection of stringer and bulkhead, I chamfered the edges of the ply to allow epoxy into the joint, then carefully filleted both sides of each joint. |
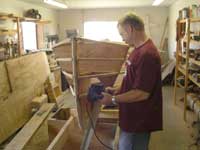 |
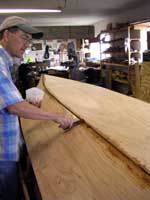
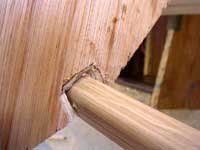
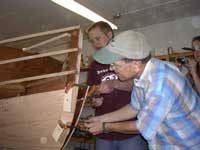
The first thing Bonham did when he came was to plane the bottom stringer so that there is a glueing surface for the garboard, or bottom plank. If you look carefully, you can see the aluminum angle extension which is kept along the bottom of the boat so that the planer is at the correct angle. |
 |
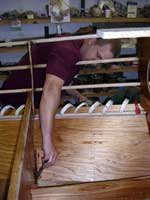
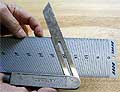
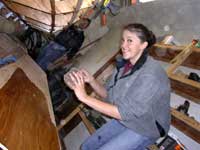
It took a bit of fitting to get the plank even at the bottom, then we simply spiled (marked) along the stringer to get the correct size. |
|
Once the first piece of the garboard plank was cut out, Jenny put a coat of thinned epoxy on the inside and Bonham spread thickened epoxy on the area that would contact the stringer. |
|
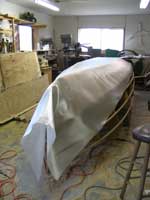
Starting at the stern, we started clamping the garboard in place. |
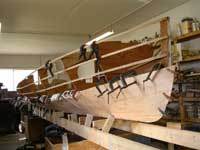 |
As you can see, it took a lot of clamps to get the whole thing. This shows the two pieces of the plank in place - we used a temporary butt block at the joint which will be replaced later with glass on both sides. Notice the holding blocks along the bottom/garboard joint. |
 |
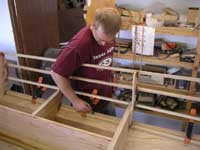
The next day, we removed all the clamps and began the port garboard plank. Jenny was really getting the hang of it. |
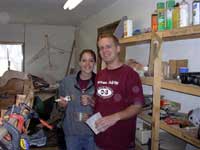 |
Boatbuilding is fun! |
 |
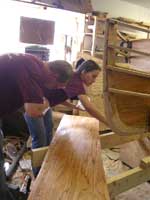
Enough mugging, lets get back to work. Once again thickened epoxy along the stringer/garboard joint. |
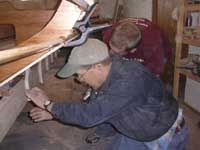 |
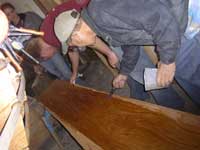
With a few clamps on the upper joint, I hold temporary blocks while Bonham screws them in place. |
 |
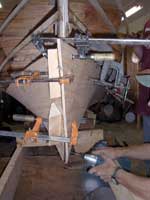
The hardest part was pulling the forward section up to the stem. This is 9mm five ply marine ply and does not want to bend. It took two of us with clamps to do it. Notice the beveled blocks screwed to the opposite side of the stem to give the clamps purchase. |
|
Once she is clamped up, we put a few stainless steel screws into the stem for security. |
|
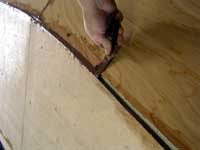
Next we put small (1/2") fillets at all garboard/bulkhead joints. Some of those were a lot harder to reach than this one. |
|
The next day, we duct taped the bottom/garboard joint to keep epoxy from dripping through when we filled this joint from the other side. This would happen after... |
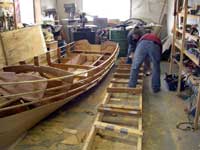 |
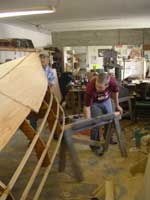
... we turned her over. First we unscrewed the hull from the strongback. Then we had to make some space by dissassembling the strongback. |
 |
Then we flipped the hull which is surprisingly light at this point. |
|
We put her on sawhorses so it will be level for glassing the bottom. |
|
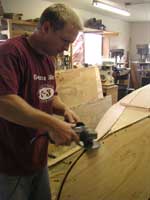
But first a few details: Here Bonham is grinding a nice shape on the stem. |
|
Then we filled the garboard/bottom joint after painting unthickened epoxy in the joint. This will keep the joint from starving. |
 |
A better view of this operation. |
|
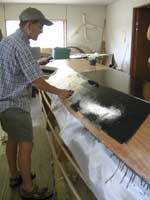
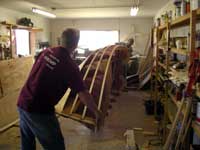
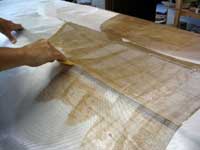
A few days and a little sanding later, the 6oz glass is spread over the bottom and ready for resin. |
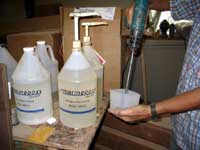 |
For large jobs like this I like to use a drill mixer. Even speeding the mixing up this way, one person can just keep up with.... |
 |
... a person spreading. This job is easy and goes fast. |
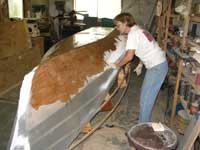 |
Especially when you have a willing helper like Sandra. |
|
After the first coat of resin got tacky, I applied the first coat of graphite. When that was tacky I rolled a second coat on. Since I was using fast hardener, it only took about an hour to get to the right stage for recoating. |