I completed this project a little
while ago, but I decided to write this article now as a tribute
to Phil. I have only been boatbuilding since 2001, but I came
across the designs of Phil Bolger early in the piece. Thumbing
through a boatbuilding magazine one day, I found a picture of
Queen Mab. Queen Mab, Design #638, is 7' LOA and Beam 32".
The boat is designed to double paddle and the sailor sits in a
comfortable seat facing forward when sailing.
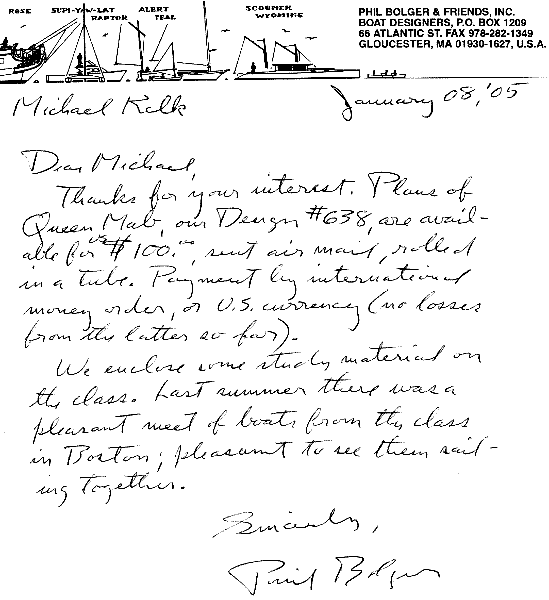
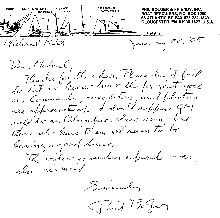
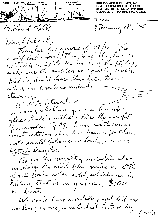
I wrote my first letter to Phil requesting information about
Queen Mab. This was his reply.
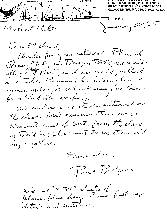 |
Phil added little extras to his letters to me. |
He added a little extra note about sailing in Boston. I now had
images of a little fleet of Queen Mab's sailing together in Boston.
That is when I decided to make a mold and build mine out of fibreglass.
I could build more for that race. It was a small project and perfect
to learn how to build a solid GRP boat. The design displacement
is 200lbs and I was under that (wish I still was). This meant
I had some room to move on the empty weight of the hull.
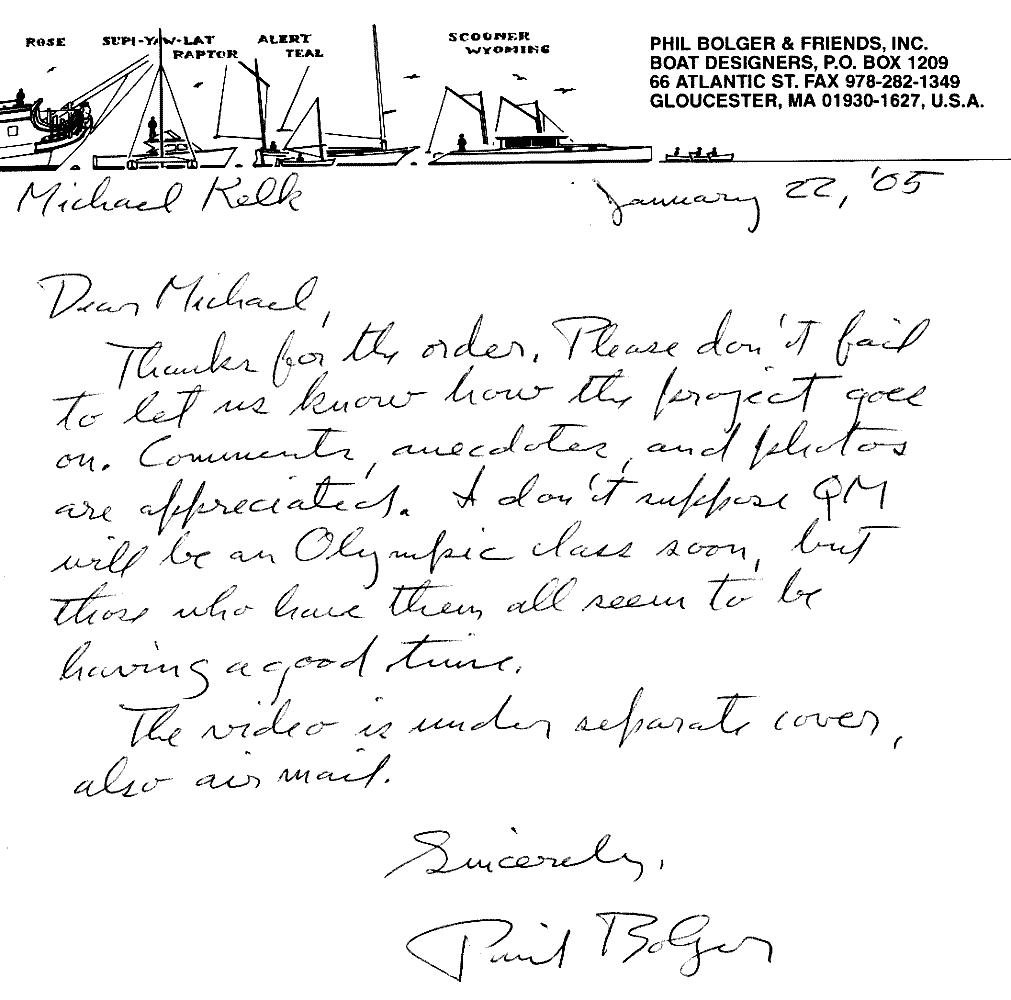
I ordered the plans and with the plans came this letter from
Phil.
 |
Phil offered encouragement and interest in our
builds in his letters. |
I found this letter encouraging. Again, I had visions of a race
of these little boats. The video was great. It showed Dave the
owner with his Queen Mab. It was a chance meeting between Dave
and Phil I think, but Phil got in the boat and had a sail in light
airs. More encouragement here as the designer had sailed this
design, personally.
Work began as I set up the frames in chipboard (particle board),
covered the chipboard with light dowel stringers (round dowel
did not have to be bevelled), and covered the stingers with cheap
mdf and cardboard. Over that went a light cover of chopped mat
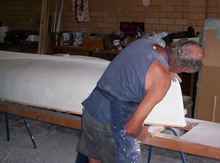
and polyester. A man has to know his limitations, so I had a plasterer
help me and a professional finished the fairing and made the mould.
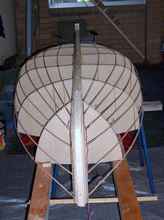
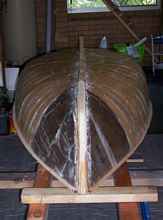
Here is a sequence of my GRP process.
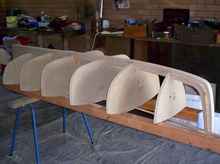 |
Framing |
 |
Dowel on frames |
 |
Mdf and cardboard at bow |
 |
Strips of mdf on the plug to get the level
for the plaster. |
 |
Removed strips and plaster the gaps in plaster |
 |
Plastering |
 |
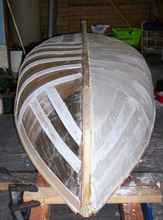
Finished plug, note skeg thickness |
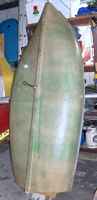 |
Finished outside of mold with water release
outside |
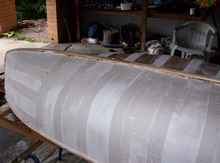
 |
Inside finished mold |
The mold has a water release. With the boat upright, the water
fills from the bottom and forces the product out of the mold.
The cracking during the process is worrying, but the hull was good.
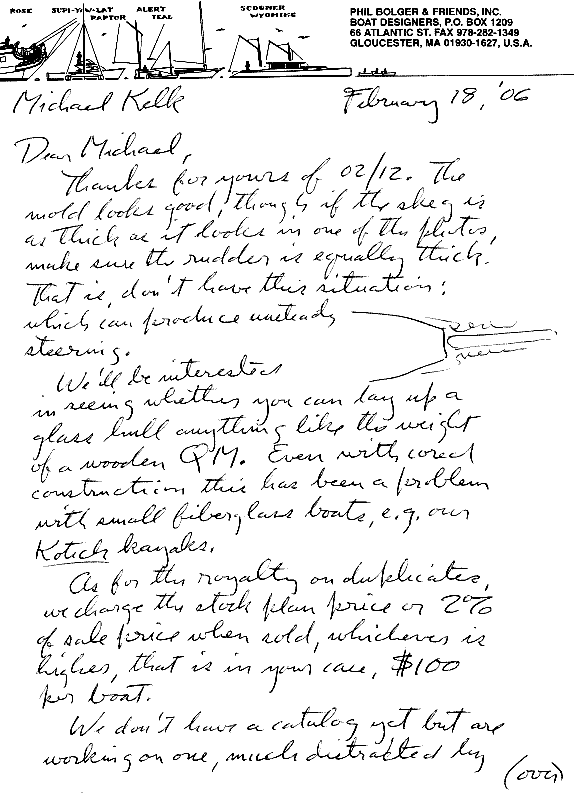
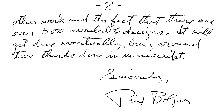
With the mould finished, I wrote a progress report to Phil and
a letter came back with advice about my mould and rudder.
 |
"I got advice back about my mould and rudder." |
 |
Second page |
This letter was a surprise to me. The boat was designed for wood
and I did not expect any help if I was going to be a heritic and
make it out of plastic. Phil wrote about a thicker rudder, but
I had already built the rudder, so I went with what I had. He
was right of course.
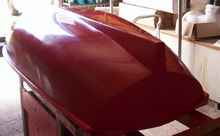
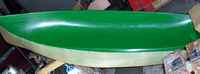
I built the hull using three layers of 450gsm chopped mat and
polyester. It arrived out of the mould at 30lbs. I asked him about
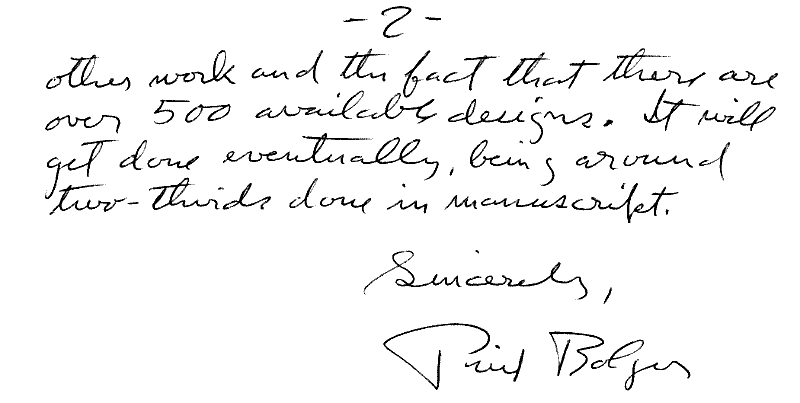
building more than one and I naively asked if he had a catalogue
(sorry Phil but he was polite to me as always).
The rest of the build went well and I made a fibreglass deck.
The boat for some reason would not stand up on its own, so my
long suffering parents had to hold it up.
 |
Long suffering parents Elle (Ellen), is helping
with the holding. |
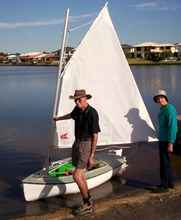
I named the boat Elle (pronounced L). That polyester stuff stinks,
so thank you for the encouragement Phil. You kept me going. I
sold the boat as a tender for a yacht, but I still have the mould.
When we are gone, it is the pictures, writing and drawings that
we make that survive. With so many of these records produced by
Phil, he will be long remembered.
Mike
https://muckingaroundintheworkshop.blogspot.com
***** |