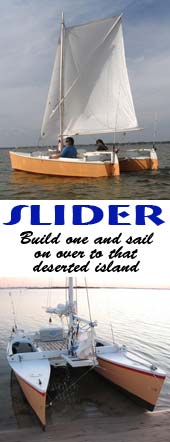
| Good cleats or other means to secure a boat to an anchor or the harbor wall is paramount. More boats are lost at anchor or in ports than on the sea. You can, of course, screw/bolt your cleats to the deck and hope for the best, but today we have materials to make cleats an integral part of a boat. In this article, I will show you how to do this. The example shown is from my friend Andrew from Tasmania. Good mooring cleats are a vital part of any boat. On our Pelican we use a Samson post. Believe me it is a good feeling knowing the thing is strong enough to hold your boat in a stormy night.
|
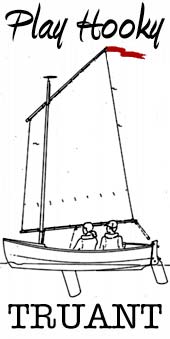
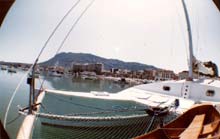
The Samson post on our PELICAN. |
From the post a rope goes to a truck tire which is used as a shock absorber. From there two ropes go to heavy snatch blocks on each side and from there to an even heavier swivel. The anchor chain/rope goes from there to the anchor or mooring. Is this overdoing it? No, when you see the tire flattened by the pull of the boat in a storm and you are in the same place you know you did everything right.
But this is a different story. Lets begin to make our own cleats. First a picture of a finished cleat. The cleat as shown is a part of the boat. It’s what I call an “organic” solution.
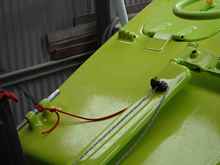 |
Transom cleat |
The sketch below shows the base for the cleats.
The cleat dimensions shown are good for boats up to about 30 ft. Depending on the size of the boat and its weight, you may have to scale up or down. For a ground plate, use Melanine, PVC or similar to which Epoxy does not stick to make the base part. The diameter of your stainless steel tube determines the diameter of the glass tube, which determines the width of the wood. The length of the wood depends on the necessary length of the clew part multiplied by the number you will make.
Glue the glass tube to the wood. Apply fillets as shown. Now place the wood on the nonstick surface and build up the fiber glass layers. Minimum about 8mm. Trim after curing and cut as many pieces as you need. Length in this case 40mm.
Make a template to mark the positions of the cleats on the boat.
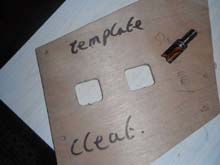 |
Template |
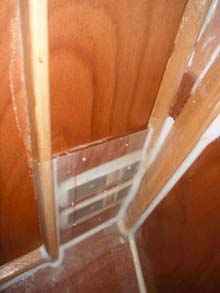
Make plywood base plates or doublers. The shape will differ and depend on your boat and where the cleats are placed.
 |
Base plate |
This base plate is for the transom.
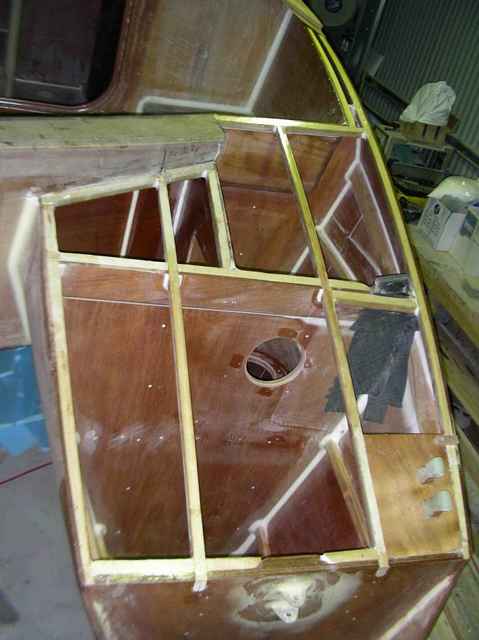
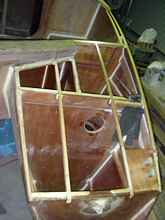
The base is somewhat different for the bows. Beef up the deck where the cleats will be situated.
 |
Example aft deck |
Now look at the next two sketches. They show the layup and arrangement to mount the cleat to the boat. Sketch 3 shows the side view. Use a release agent on the stainless steel so it cannot stick.
Sketch 4 is the view front to back and shows the installation. Be aware that the cleat pieces are pushed through the deck.
Sketch 3 |
 |
Note how the glass is staggered for stress relief. Sketch 4 |
 |
Cleat at the transom area with backing plate |
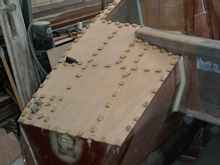 |
Recess for mounting the aft deck |
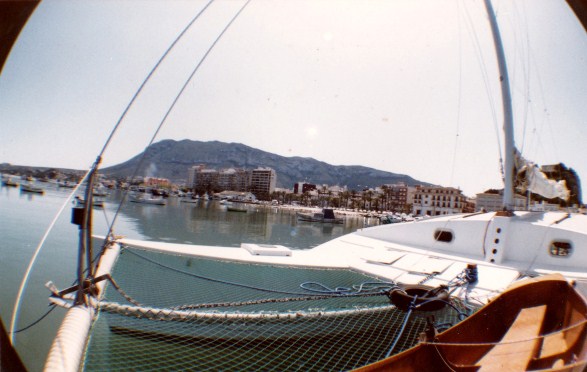
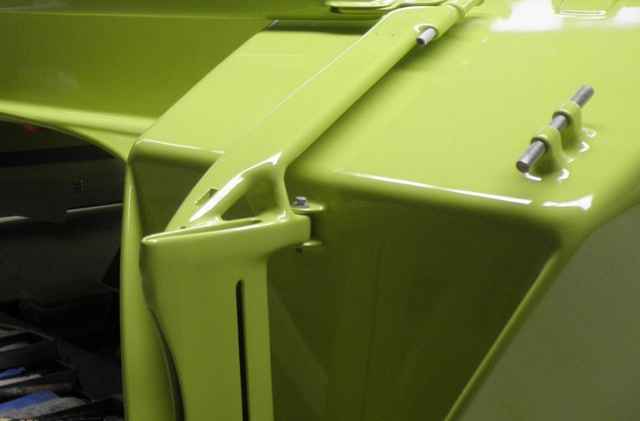
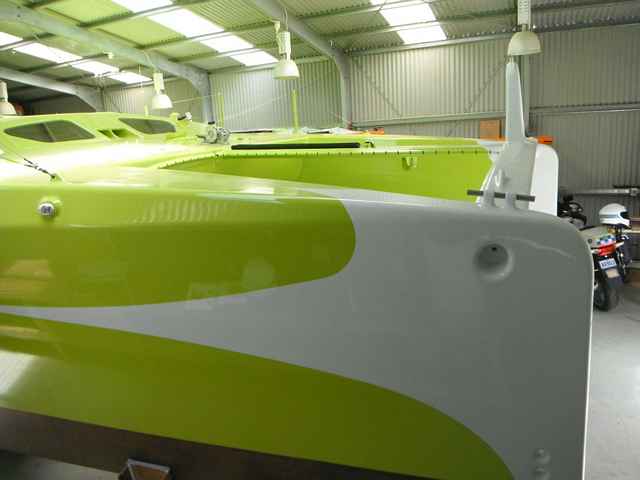
When the decks are glassed over, fair the cleats to your taste. After painting, glue the stainless rods to the cleats. The results are shown in the next pictures. These cleats not only look great but are the strongest you can make.
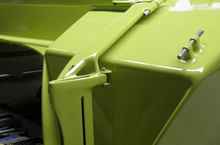 |
Starboard cleat transom |
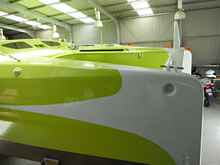 |
Bow cleat |
Bernd Kohler
https://www.ikarus342000.com/CATpage.htm
|