
 Custom Search
|
| boat plans |
| canoe/kayak |
| electrical |
| epoxy/supplies |
| fasteners |
| gear |
| gift certificates |
| hardware |
| hatches/deckplates |
| media |
| paint/varnish |
| rope/line |
| rowing/sculling |
| sailmaking |
| sails |
| tools |
| join |
| home |
| indexes |
| classifieds |
| calendar |
| archives |
| about |
| links |
| Join Duckworks Get free newsletter CLICK HERE |
|
|
| July Treasure Chest |
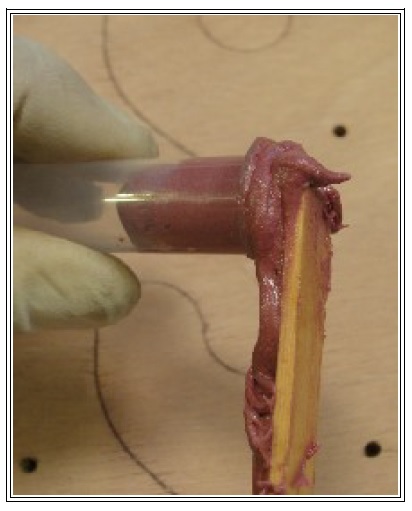
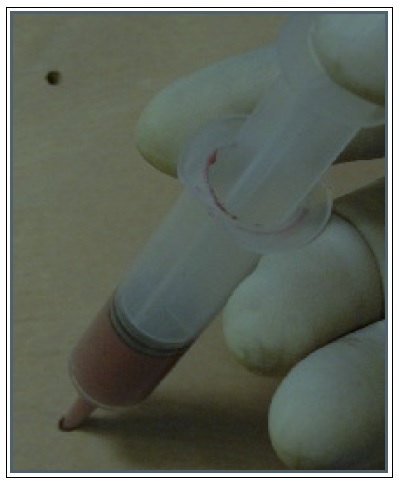
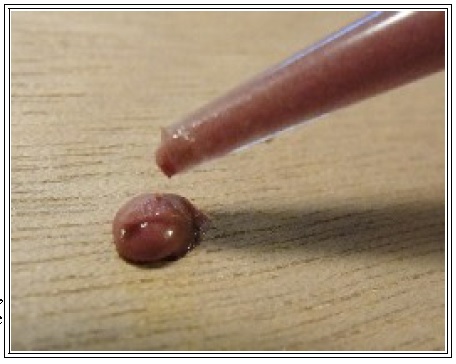
Filling Holes with a SyringeSome people try to avoid drilling lots of holes when building a boat. We drill as many holes as we need to and don't worry about it at all, because filling holes with epoxy in a syringe is so easy. Unlike a putty knife, filling holes with a syringe fills the holes all the way, (no coming back later after sanding to fill again). Most importantly, the mounds left by the syringe are a fraction of the effort to remove (with a sanding block) compared to the smears left by a putty knife. To color match (for bright finishes), try mixing colloidal silica with a little 410 Microlight Fairing Filler. To this add a pinch of low density filler to darken for a color much like Okoume plywood. Force thickened epoxy into the syringe with the stir stick. Syringe the epoxy into the holes.
Leave a mound of epoxy over the hole. To get multiple uses of a syringe, leave a tiny bit of epoxy in the syringe when finished, after this cures hard, cut a small amount of the tip off, flex the tip and pull the plunger out. If the rubber part has epoxy stuck to it, remove it and bash it with a hammer, then pick off the epoxy. This is an excerpt from the e-book, "Epoxy Basics" by Russell Brown provided with permission from the author. Fancy Boat Flippin' Mechanism
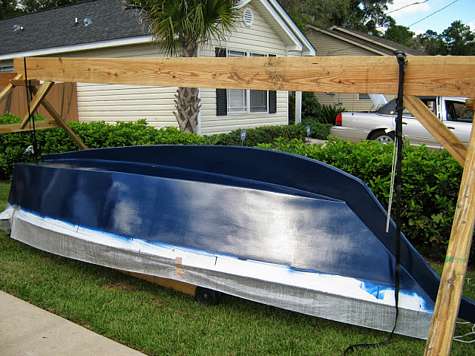
Now that the boat was all painted, I needed to flip it over and start working on the topsides again. Since I shouldn't need to do anything else to the bottom of the hull, I figured it would be good to go ahead and put it on the trailer. The boat probably weighs almost two hundred pounds now with all the coats of epoxy and paint I put on it. I knew I couldn't just manhandle it onto the trailer without messing up the paint job. I could have gone knocking on doors to round up a couple of people to help me turn it over and put it on the trailer. Also, Nic had offered to help me when Debbie posted about it on Facebook. In the end, I guess I am just a little too independent for my own good and saw it as a challenge to figure out how I could flip it myself. Read more on my blog. Tom Bag
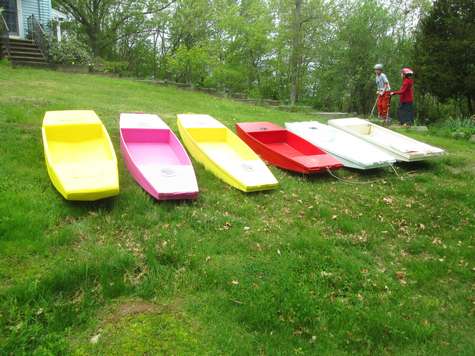
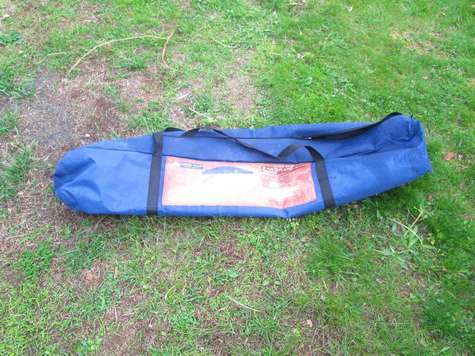
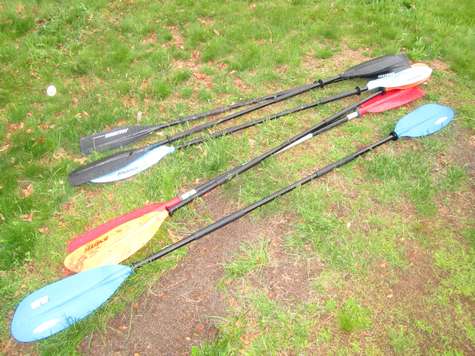
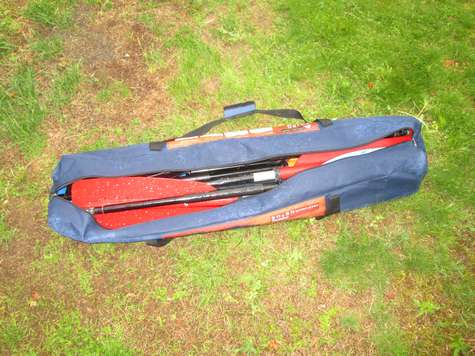
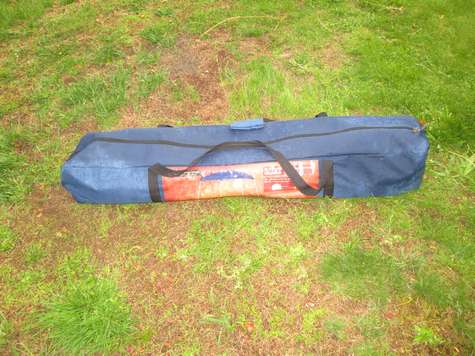
With the fleet I've built the amount of equipment multiplies rapidly, driving home again because we're short on paddles life jackets or cushions is no fun. Neither is trying to carry an armload of paddle sections at once. Like most people I've had more than one easy up type picnic awning taco (fold up the wrong way) on me (avoid the pain, only buy a commercial grade easy up, they cost more and weigh more for a reason, they aren't disposable). After the easy up frame tacoed I saved the fabric top and the bag it came in. At some point I discovered the bag is long enough to fit canoe or kayak paddles. At one point we had a blue bag for kayak paddles and a green bag for canoe paddles (this makes it easy to tell little helpers what bag to grab. The canoe has since been sold so right now I'm down to just one bag for paddles. We also have one of those large yellow bags with a velcro seal for life jackets, this keeps getting ready to go boating much easier to organize and delegate. As long as both big bags make it the rest is up to what each person wants to bring, (or remembers to). Josh GISUseful methods for goatees courtesy of the optimist. Two points here: The tiller extension is held in the rearmost hand but that hand is in front of your body roughly near your navel. Thus brings your two hands close together so they can coordinate quick and fluid sheeting in or easing out. Some comments on Facebook. MIK Storer Roller CleanerCleaning paint rollers is messy and this seems a great idea. I soaked the rollers for a while in a bucket first. I made my roller cleaner 3.5' long so I could put more than one roller in at time. It does work, not perfect, but it beats other methods so far. Mike John Mixing Epoxy
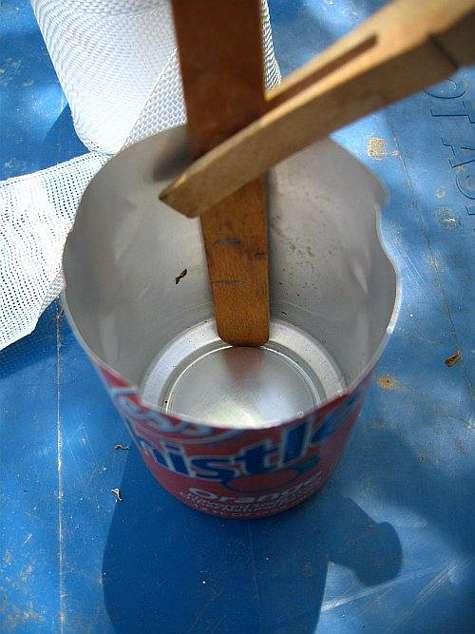
Doh! This is why Jim Michalak is smarter than me: "A soda can has its top cut off to make a straight sided open container. The stick has marked on it a line 1" from the bottom and again "1-1/2" from the bottom. Then the stick is clamped to the side of the can with its bottom all the way down to the can's bottom. Then I fill with epoxy resin to the first mark. Then the hardener goes right on top of that to the second mark. This gives the 2:1 mix ratio this hardener requires but if you have a different ratio to work with you just remeasure those lines to suit." That's from his most recent newsletter: jimsboats.com. There's a picture there. Basically, he marks his stir stick and uses it to measure the volumes of resin and hardener. I'm not so sure I'd like the sharp edged soda can, and the dimple on the bottom would maybe throw off the mix a bit, but... Seth |
To comment on Duckworks articles, please visit one of the following:
|


 |