
 Custom Search
|
| boat plans |
| canoe/kayak |
| electrical |
| epoxy/supplies |
| fasteners |
| gear |
| gift certificates |
| hardware |
| hatches/deckplates |
| media |
| paint/varnish |
| rope/line |
| rowing/sculling |
| sailmaking |
| sails |
| tools |


| join |
| home |
| indexes |
| classifieds |
| calendar |
| archives |
| about |
| links |
| Join Duckworks Get free newsletter CLICK HERE |
|
|
| Installing an Outboard Fuel Filter |
by Charlie Whipple - Tokyo - Japan |
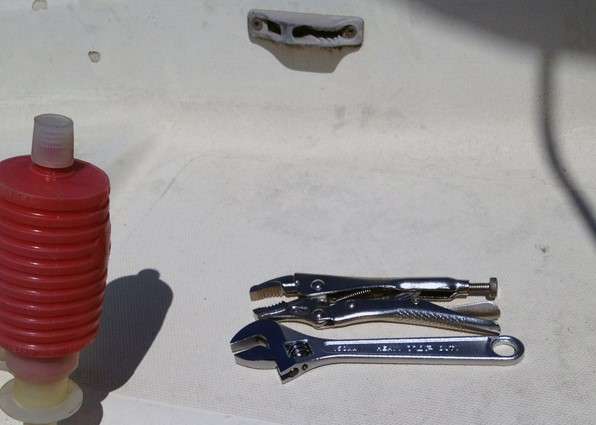
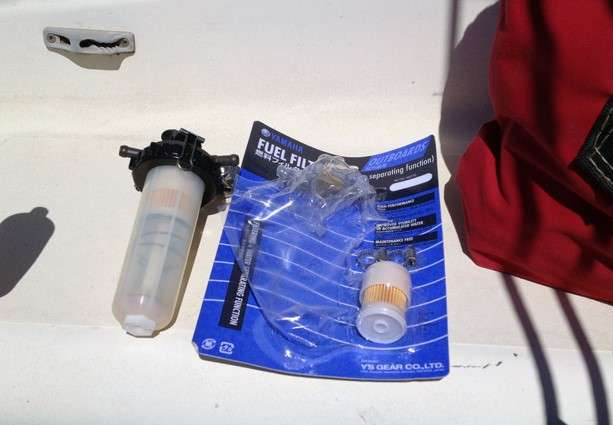
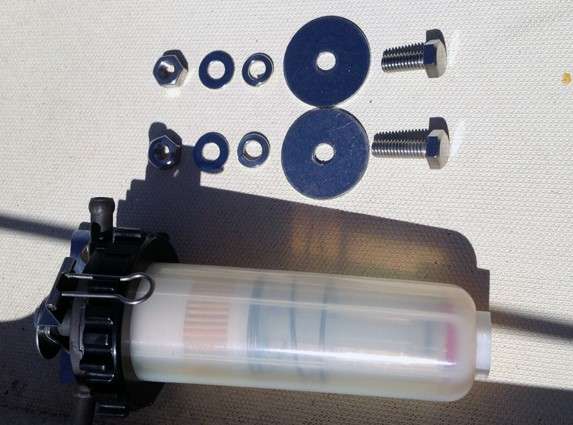
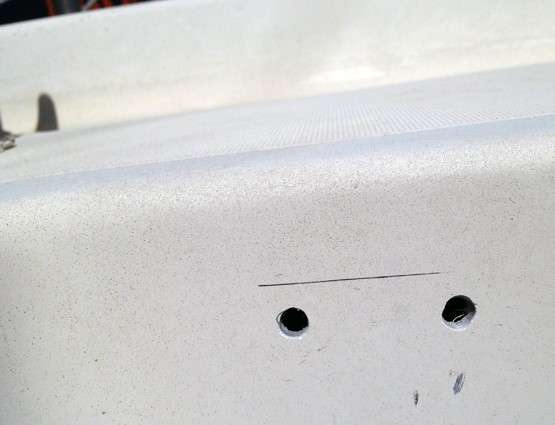
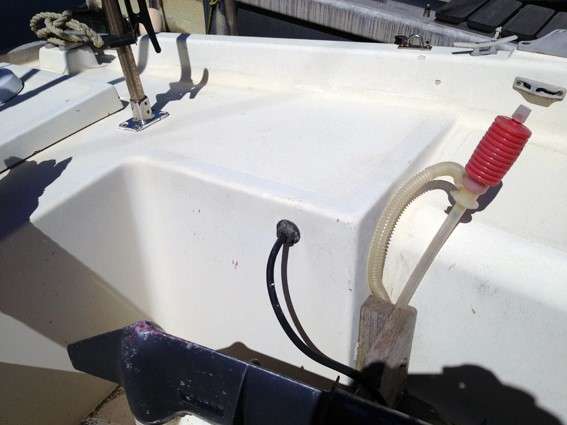
Japan's a very humid country, with quite marked differences in daytime and nighttime temperatures, especially in spring and fall seasons. I have a fairly large fuel tank (6 gallons), and unless I am leaving for overnight voyages, I let the fuel get quite low before refilling. Here's what I think happens. During the relatively high temperatures of daylight hours, air exhausts from the breather valve on the tank's cap. As the temperatures drop, the tank sucks in a bunch of that high-humidity air, and if the temps drop below the dew point, water droplets form on the inside of the fuel tank. These drop into the gasoline and make their way to the bottom of the tank. Get enough water in the tank and you'll find the outboard doesn't want to start . . . well, no matter how many times you pull the starter cord, it won't start. I had it happen twice, and Yamaha told me water was to blame. I imagine if I emptied the tank every time I came back to my slip and filled it with freshly drawn gasoline just as I readied to go out again, I would have no problems. I'm too lazy, and I don't want to waste fuel. Solution: fit a fuel filter that's designed to remove water between the fuel tank, which is in a special vented stern locker, and the outboard, which sits in a well at the aft end of the cockpit. I bought a Yamaha fuel filter and thought it would be rather straight forward to fit it on the port side of the outboard well so the fuel line could exit the stern bulkhead, go through the filter, and hitch to the outboard. Have you heard of the "well-laid plans" rule? How about Murphy's law? Right. I removed the current fuel line from its outlet in the port side of the outboard well, filled the nut with polysulfide, and screwed it back on the nipple. Then I took the mounting flange out of the filter package, set it against the portside bulkhead of the outboard well, and penciled the places where the through-bulkhead bolts were to go. Drilled 8mm holes where the pencil marks were, and dry-fitted the flange. All went well. I smeared the back of the flange with polysulfide and bolted it to the bulkhead with bolts backed on the inside with oversized washers and on the outside with lock washers. Fit like a dream.
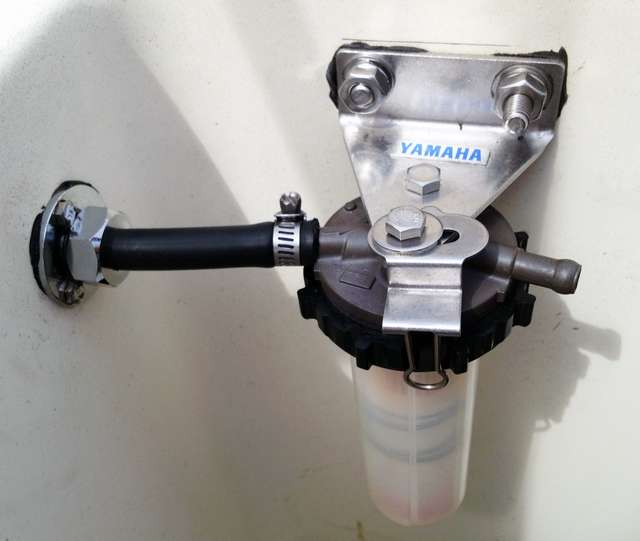
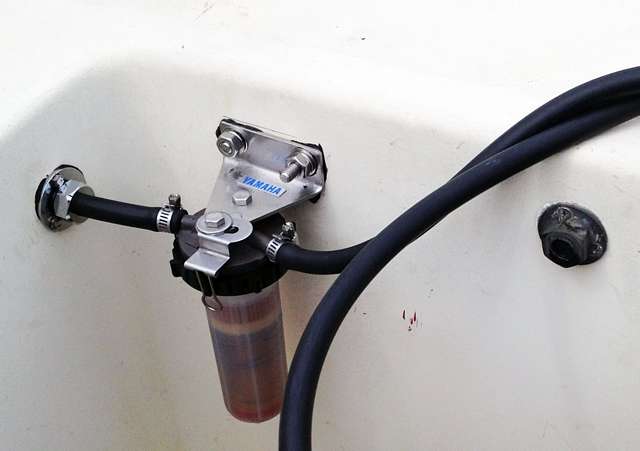
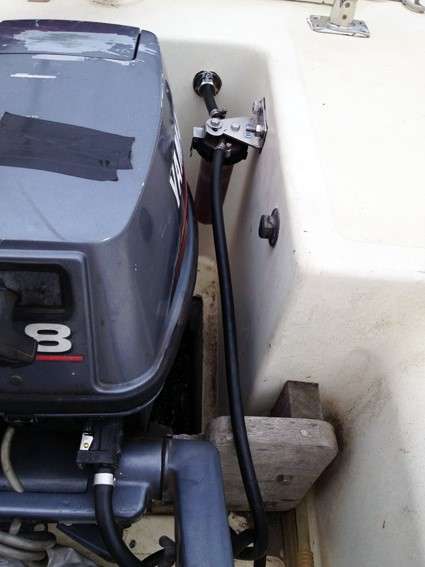
Mount the fuel filter. No problem. Align the drill with the fuel filter intake and open a 10mm hole in the aft bulkhead of the outboard well. No problem. Mount the watertight fitting for the fuel hose. No problem. Cut the fuel hose in two where the long part, which includes the primer bulb, will fit from the aft of the filter intake and the short part will go on the forward outlet fitting and from there to the untake fitting on the outboard. No problem with the thinking. Big problem with the execution. My outboard is 8HP, long shaft. Its fuel line is 6 mm inside, 8mm outside diameters. Guess what. The filter's inlet and outlet flanges had to have 7.5 mm inner diameter tubing, which boosted the outer diameter to 13.5mm. My local Yamaha dealer had an outboard fuel line in those proportions with intake and outlet fittings for both my fuel tank and my 8HP motor. For a moment, I thought the through-bulkhead fitting for the fuel line would not allow the larger line to go through, but upon removing the nut, I found the inner flange had large enough inner diameter. All I had to do was ream out the hole I made in the bulkhead until it was the same size as the fitting. Then thread the fuel line through. Worked like a charm. Of course I had to take off the priming pump bulp when I threaded the line through the bulkhead, so I replaced it on the inside. No problem. Intake line installed. Well done. Outlet line installed. Well done. Filter bulb filled with fuel and screwed onto the fitting, which was held to the flang with two 6mm stainless bolts. Well done. Time for a test. Stand up the motor, slip it into the motor well, clamp it on the teak holding plank across the stern end of the cockpit. Plug the fuel line in. Reach in the stern locker and squeeze the priming bulb until you can squeeze no more. Remove cover from the outboard. Pull the choke out, turn the accelerator to idle. Pull the cord. Nothing. Pull the cord again. Nothing. Pull once more, and be satisfied with an immediate start and, after pushing in the choke knob, a steady idle of the kind that comes from a happy outboard. Where there's a will, there's a way. |
To comment on Duckworks articles, please visit one of the following:
|


 |