Part One
Finally, I have made it from consideration to action. Since about mid-2007 I think - I have been a daily reader of Duckworks magazine. As for probably most readers, my favorite have always been those articles that report the creation of a boat from a stack of wood to the finished item.
While I have been considering to start building myself for years, I never go to it, until the other day when I had three days off in mid-July. I just went and did it. That is, to the big box home improvement store's wood desk, and asked them for a few sheets of ply. I figured - as I would dry store any boat anyway, for a first build it would not make a difference if I am really using Okoumé. The more important thing for me was to get started at all. As various editors have noted before, there are only two ways to build: all cheap or all of the best. I certainly would be leaning towards the cheap end, so from that perspective the ply quality is not a major issue either. My original favorite for a first build was Jim Michalak's Robote - plans included in Jim's excellent book (all those not-yet builders out there: do buy it today - it really helps to understand how easy it is to get started). However, the store only had two sheets of 6mm ply on stock while I needed three.
I had also been considering to try out Flo-Mo's "Flywood" one-sheet canoe with its intriguing and beautiful design. The store did have a sheet of 4mm ply, so that decision was taken for me = the canoe it was as my first project. I still purchased the two sheets of 6mm just in case, to make sure that I will continue and also do the Robote. I should probably remark at this point that the finished forms for Robote have been sitting in my basement for two years, and the oars have been in "almost-finished" shape for nearly a year now. I have also built cardboard scale models of both the Robote and the Flywood canoe. Still, I had those three days (well actually not three days, but a fixed "fully free" timeslot during three consecutive days) and wanted to make as much headway as possible on one boat, so here goes.
Day one:
 |
Two sheets of 6mm ply and one sheet of 4mm ply loaded. Used three pieces of 2x3 as a load spreader. Should have put the 4mm sheet into the middle of the stack - the wind load pulled one corner of the 4mm sheet up and kinked it slightly where the tiedown strap sat. |
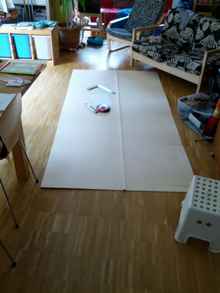 |
4mm sheet on my lofting floor. Yes you guessed it: my wife was not at home, nor were my kids. |
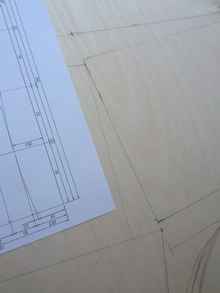 |
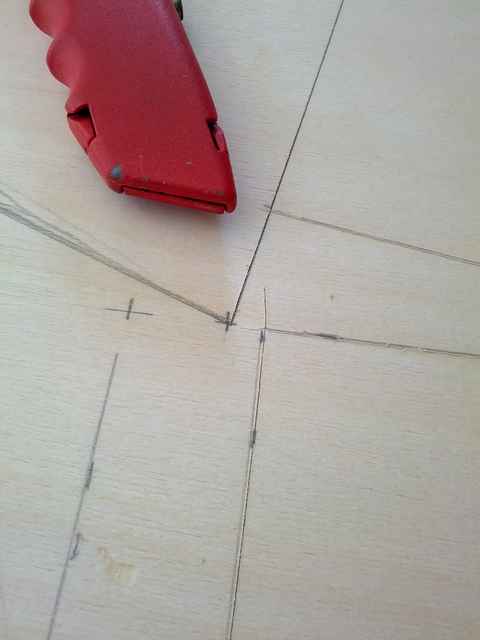
After 45mins: all lines transferred from drawing to sheet. |
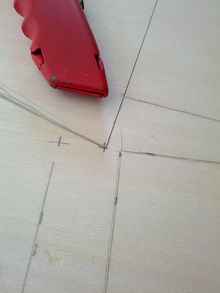 |
After 1hr: all straight lines pre-cut with stanley knife. |
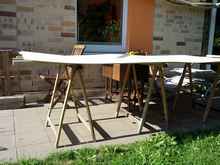 |
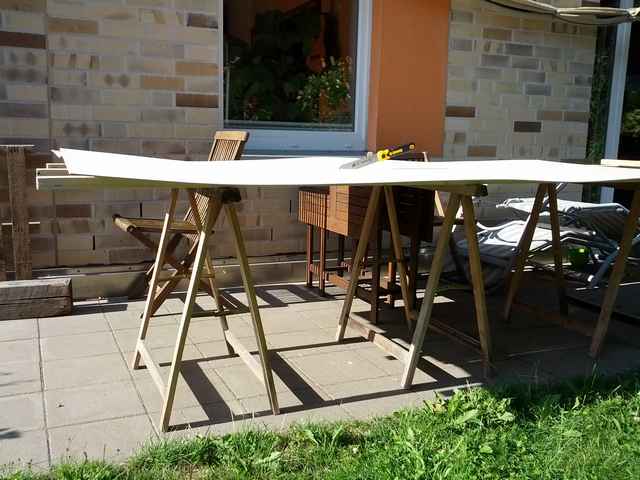
Sheet with the 2x3 support battens on sawhorses ready for first cutting. |
 |
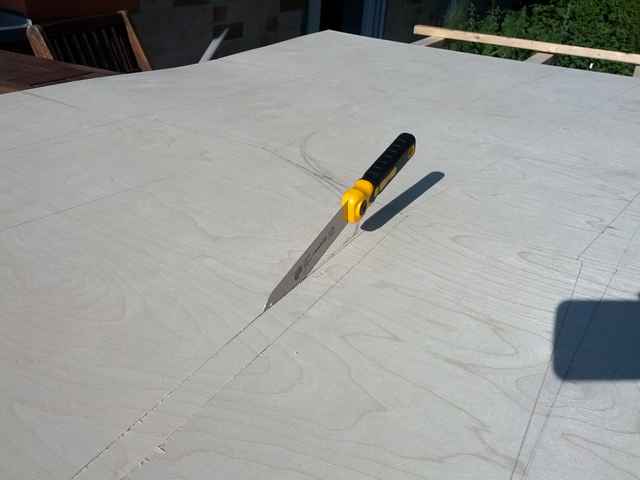
Used a very thin bladed (I guess 0.8mm) imitation Japanese pulling saw for all cuts. On long cuts, the blade tended to jam quite a bit. After a while I figured out that it helps a lot to slightly lift one side of the ply behind the cut with one finger of the non-sawing hand (mimicking a scissor cut). This gives the blade just the right amount of extra room. |
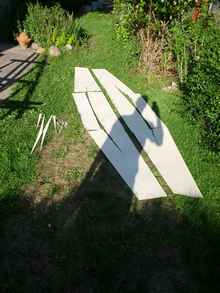 |
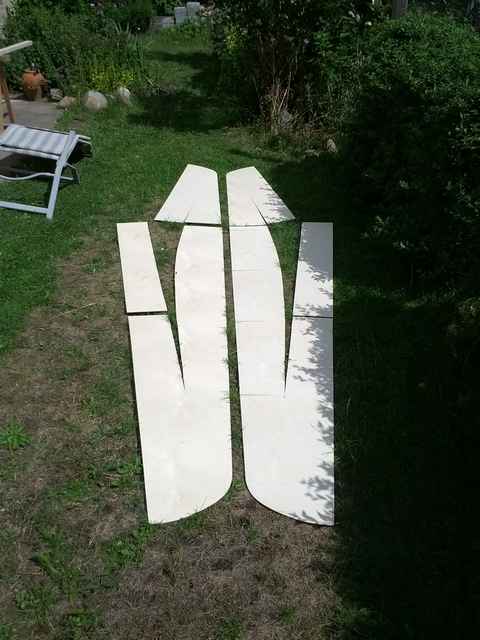
After 2 hours overall: all parts rough cut. Note: the small array of pointy scraps on the side is all the non-used bits that remain of the entire sheet of ply. Really, the area use of this design is quite spectacular. |
Day two:
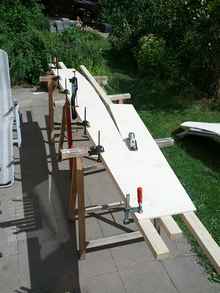 |
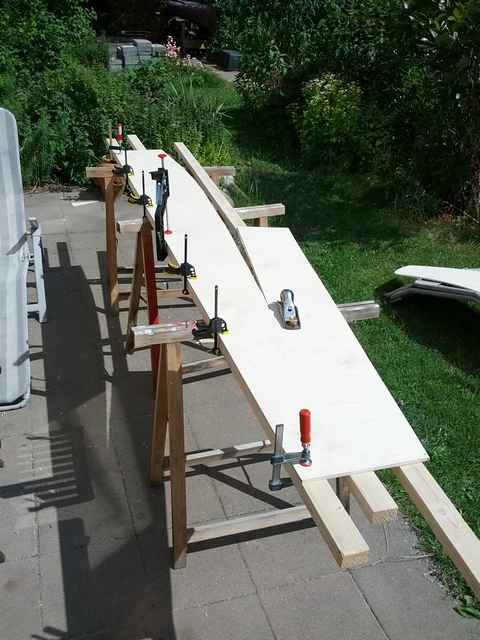
Back out on the sawing jig. This time around, it is for fine trimming the parts. I tried to mate the left and right twins within about 0.5mm (less than 1/16 in) of all external dimensions. Aligned the baseline of parts to one of the battens with a few clamps (at this time, a neighbor asked across the fence "how come you have so many clamps?" - c'mon... it is only seven - you ain't seen nothing yet!). Trimmed the opposite (non-clamped) edges off with a block plane. |
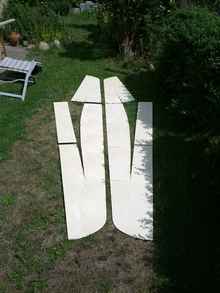 |
After about 4 hours: all left and right parts precision mated, bow and stern rounding done. |
Day three: Here I missed out on a few process photos, as I was a bit short on time due to other obligations. Hence, I can only provide some shots of the finished product.
The "flywood" design has some degree of compound curve in the bow section. Hopefully this will work out well as the 4mm ply should be able to take the strain. To prevent the "folding point" to tear/splinter, I put a glass tape patch on both sides of all four such points (bow and stern left and right).
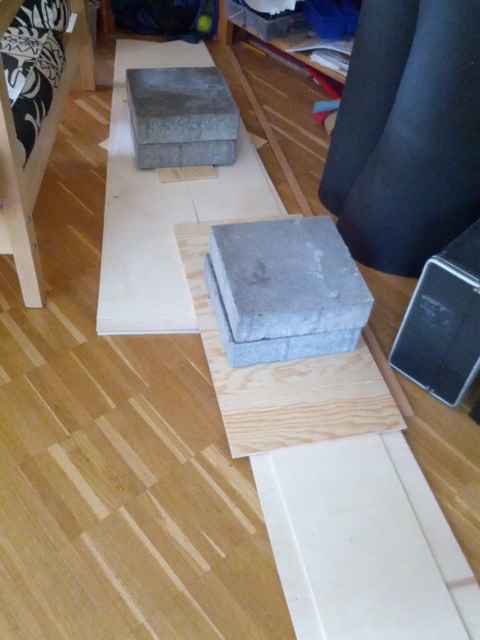
Then, I joined the middle panels to the shorter hull section for both sides. Used a two-sided glass tape butt joint. True to the "all cheap" philosophy mentioned above, I used drywall glass tape for the butt joints as well as for the reinforcement patches. The stuff is nice and flat, cuts with scissors like paper but is fairly stiff. I am curious to see how it will work on curved fillets. For curing, I stacked all parts flat, with non-stick plastic sheets between the epoxied spots. Put a few concrete garden path blocks on top for some pressure. My wife did get to see the stack on our living room floor and was surprisingly relaxed about it(!).
 |
Sstack of parts curing with some concrete blocks to keep it flat. |
 |
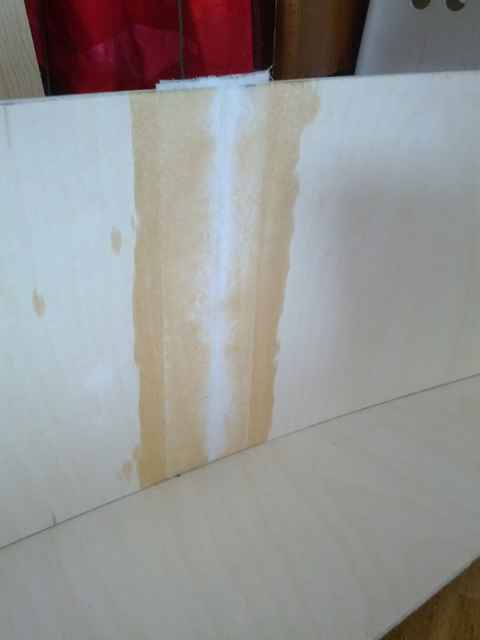
Sorry, slightly out of focus. Glassed butt joint with drywall glass tape both sides. Remaining center gap was filled with silica thickened epoxy. |
 |
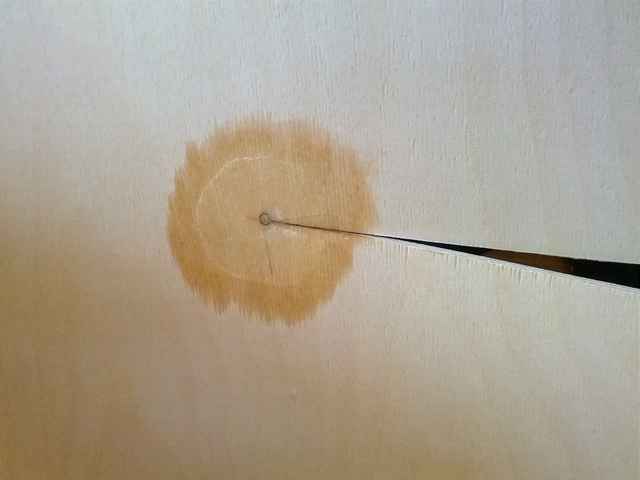
Reinforcement patch for "folding point" near bow/stern. Patch also from drywall tape, applied both sides of the sheet. |
After day three - about 6 solid hours overall, I needed to shelf the project for a short while - but will follow up as soon as practicable.
To be continued...
|